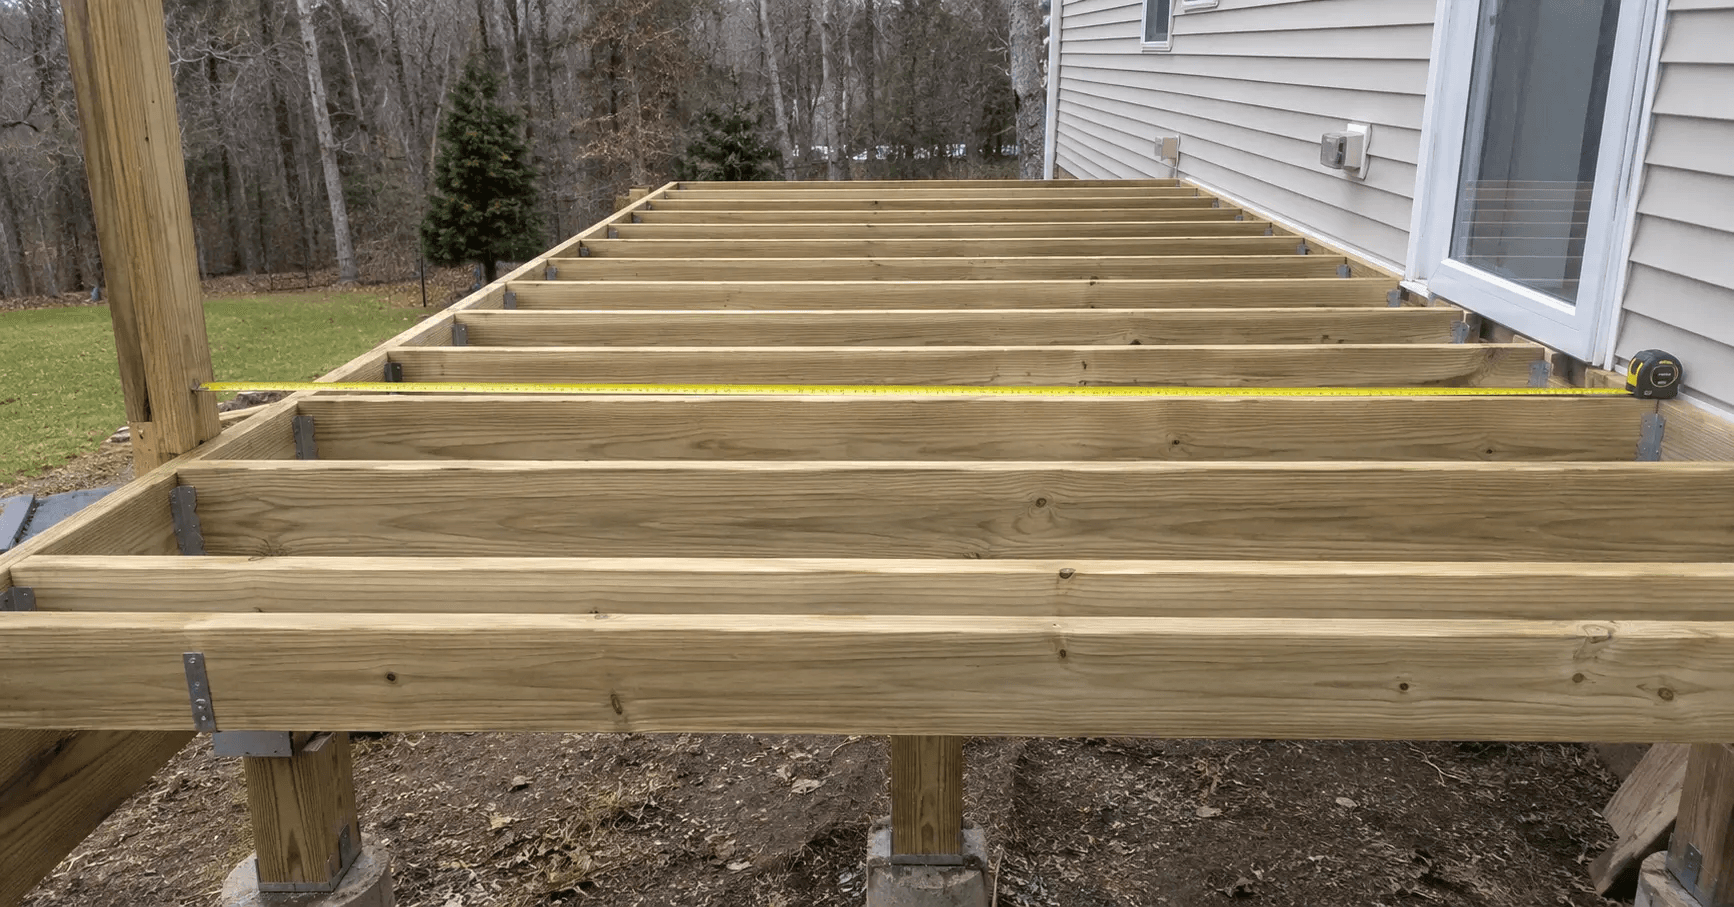
Joist spacing looks like a settled question. Sixteen inches on center, next problem. That works right up until the decking manufacturer voids the warranty, or the inspector asks what ground snow load you designed for and you do not have an answer.
Spacing and span are two separate decisions and they get driven by different things. Here is what actually controls each one, and where cold climates change the math.
Spacing and span are not the same decision
Spacing is how far apart the joists sit, measured center to center. Span is how far a joist runs unsupported between the ledger and the beam, or between beams.
They interact. Tighter spacing lets a given joist size span farther, because the load per joist drops. But they are governed by different concerns, and the mistake people make is picking a spacing out of habit and then discovering the decking or the span will not allow it.
Work in this order. Figure out what spacing your decking requires. Then size the joists for the span you need at that spacing. Not the other way around.
Your decking picks the spacing, not you
This is the one that costs money when you get it backwards, because you find out after the frame is up.
Wood decking laid perpendicular to the joists is generally fine at 16 inches on center. That is where the habit comes from.
Composite and PVC are a different story. Most composite decking requires 16 inches on center maximum, and a good number of products call for less. Run the boards diagonally and nearly every manufacturer tightens the requirement, commonly to 12 inches on center, because the effective span between bearing points gets longer when the board crosses at an angle. Stair treads usually have their own tighter requirement again.
Read the actual installation instructions for the specific product line before you frame. Not the brand generally, the product. Manufacturers within the same brand have different requirements across their good, better, and best lines, and the warranty is written against those instructions.
If the homeowner has not picked decking yet and wants you to start framing, frame for the tightest spacing you might plausibly need. Adding joists later means pulling boards. Twelve inch spacing on a mid-size deck is a few hundred dollars in lumber. Retrofitting is a rebuild.
What governs the span
Once spacing is set, joist size follows from how far you need to span. Four things drive it.
Joist depth. The big lever. Depth matters far more than width, because bending strength goes up with the square of depth. A 2x10 does not span a little farther than a 2x8, it spans a lot farther.
Species and grade. Southern pine, Douglas fir, and spruce pine fir do not span the same distance at the same size. Neither do #1 and #2 grade of the same species. If you buy whatever the yard has that week and use the same span every time, some of those decks are undersized.
Spacing. Tighter spacing, longer allowable span. This is why the two decisions interact.
Design load. The one people skip, and the one that matters most in New Hampshire.
Snow load is the cold climate problem
Prescriptive deck span tables, the ones most of us work from, are built on an assumed design load. Typically 40 pounds per square foot of live load plus 10 of dead load. That assumption is doing a lot of quiet work in the background of every number in the table.
In snow country, ground snow load can exceed that assumption. Parts of New Hampshire carry ground snow loads well above 40 psf, and it climbs as you go north and up in elevation. When your local ground snow load is higher than what the table was built for, the table does not apply to your job. The spans in it are not conservative for you, they are wrong for you.
This is not a technicality that only shows up on paper. A deck framed to a 40 psf table in a town with a much higher snow load is a deck that is fine for years and then gets a heavy wet winter with ice on top.
Two things to do about it. Find out your town's design ground snow load from the building department, because it is set locally and it changes across town lines. And check whether the span table you are using states a snow load limit, because the good ones do. If your number is over the table's ceiling, you are in engineered territory, not prescriptive territory.
Same principle as footing depth in cold climates. The number is local, you confirm it locally, and you confirm it every town rather than carrying it over from the last job.
Use a real span table
I am deliberately not printing span numbers here, because a span table you half remember is worse than no table. The American Wood Council publishes prescriptive residential deck construction guidance with proper span tables broken out by species, grade, size, and spacing, and most building departments will tell you which edition they enforce.
Pull the actual table, check which load assumption it is built on, and confirm that assumption holds in the town you are building in. That is a five minute habit that keeps you out of the two situations you do not want, which are failing inspection and building something that fails later.
The parts people forget
Cantilevers have limits. Joists can overhang the beam, but only so far, and the allowable overhang is tied to the backspan. Running a long cantilever because it makes the deck line up nicely is a common way to end up with a bouncy edge.
Beams have their own spans. Sizing joists correctly and then running the beam too far between posts moves the problem rather than solving it. Beam span drives post spacing, which drives how many footings you dig.
Blocking at the ends and over beams. Joists want to roll. Blocking or approved connectors keep them upright and let the frame share load instead of each joist working alone. It also stiffens the deck noticeably underfoot, which is the thing homeowners actually notice on walkthrough.
Stiffness is not the same as strength. A deck can meet code for strength and still feel springy. Deflection limits are what govern bounce, and a deck at the absolute maximum allowable span will meet code and still feel cheap. Going up one joist size on a long span costs a little and is the difference between a deck that feels solid and one the customer mentions to their neighbor as feeling flimsy.
Hangers matter as much as the lumber. Right hanger for the joist size, right fasteners, all holes filled. Exterior rated hardware, and the fasteners have to be compatible with treated lumber. A correctly sized joist in the wrong hanger is not a correctly framed deck.
Ledger attachment is its own subject. Most deck collapses trace back to the ledger, not the joists. Proper fasteners in the right pattern, flashed correctly, into solid structure. If you cannot verify what you are attaching to, build it freestanding.
The short version
- Get the decking spec first, then frame to it
- Diagonal decking usually means tighter spacing, plan for it before you frame
- Spacing, joist depth, species, grade, and design load all move the allowable span
- Ask the building department for your town's design ground snow load
- Check that your span table's load assumption covers that number
- Over the table's ceiling means engineered, not prescriptive
- Respect cantilever limits and size the beam properly
- Block over beams and at the ends
- Consider going one size up on long spans so it does not feel bouncy
None of this is exotic. It is just the difference between framing from memory and framing from the actual numbers for the actual town. The customer will never see the joists. They will feel them every time they walk across the deck, and they will remember them the winter it snows hard.
Worth photographing the frame before the decking goes down, too. Nobody can see your framing once it is covered, and the open frame shot is one of the few ways to show a homeowner what separates your build from the cheap bid. Here is how to shoot job site photos that actually help your business.